Krita tutorial: How to clean up your sketches
This workshop will be simple for any user to follow, whether you’re a beginner or expert in Krita. Using only three adjustment layers and one brush, you can achieve a professional and clean edited version of your scanned sketches and drawings.
Begin the process by opening up a scanned image into Krita. For your scan settings, it’s important to scan at 150dpi at the very least. This is what the best monitors (okay, all monitors) use for displaying images. For print, scan at 300 or 600dpi. The former is sufficient, but I always scan at 600dpi to ensure I capture every detail, especially since my drawings are usually on the smaller side. When saving the image, JPEG files are the most convenient. Always make sure to save at the highest quality if you intend to print out or post the final image on social media.
Contents
01. Adjust the brightness and contrast of your sketch
Begin with opening up a scanned image into Krita. For your scan settings, it’s important to scan at 150dpi at the very least. This is what monitors use for displaying images. For print, scan at 300 or 600dpi. The former is sufficient, but I always scan at 600dpi to ensure I capture every detail, especially since my drawings are usually on the smaller side.
When saving the image, JPEG files are the most convenient. Always make sure to save at the highest quality if you intend to print out or post the final image on social media.
02. Use a filter to refine the tones
Create a new Filter layer and select the Levels tab. This will give you an easy way to adjust the brightness and darkness of your image. The first slider controls the blacks, the middle controls the midtones, and the last slider controls the whites. Bring the black and white sliders more towards the centre, until the paper is white and your pencil lines are sufficiently dark enough. If you’ve lost some of the detail, move your midtone slider to the right; this will help you recover some of the finer lines.
03. Desaturate the image for a cleaner finish
Next, open up the HSV/HSL (hue, saturation, value and hue, saturation, lightness) filter and pull the Saturation tab all the way down to -100. Desaturating your sketch will help get rid of any additional colours that the scan has picked up and provides a sleeker finish to your refined pencil sketch.
04. Select an airbrush
To clean up any dust or unwanted sketch lines from your image, create a new Paint layer and select a fluffy brush: I used Airbrush_ Soft for this. Set the fill colour to white. Using an airbrush will ensure you don’t add any harsh lines when painting over your image.
05. Paint over dust and lines
Zoom into your image and begin painting over the dust or eraser marks that your scanner picked up, as well as any unwanted sketch lines on your drawing. Depending on your desired result, you might want to leave some of the sketchier lines in the image, so only remove the dust if this is the case.
This chapter covers how you use Krita in the basic operations compared to PS.
View and Display
Navigation
In Krita you can navigate your document using all these methods:
- ‘Mouse wheel’:
 down and up for zoom, and press
  down to pan your document.
 - ‘Keyboard’: with the + and - keys on your numpad keyboard.
- As in Photoshop, Painter, Manga Studio: use the Ctrl + Space shortcut to zoom, and the Space key to pan.NoteIf you add use the Alt key and so do a Ctrl + Alt + Space shortcut you’ll have a discrete zoom.
Rotation
Rotate the canvas with the Shift + Space, or Ctrl + [ and Ctrl + ] shortcuts or with the 4 or 6 keys. Reset the rotation with the 5 key.
Mirror
Press the M key to see your drawing or painting mirrored in the viewport.
Move and Transform
Moving and Transformation of contents is done using tools in Krita. You can then find them in the toolbar. If you are familiar with the way to move layers in PS by holding down the Ctrl key, you can do the same in Krita by pressing the T key for the move tool (think ‘T’ranslate) or the Ctrl + T shortcut for transform tool.
Press the B key to go back to the brush tool when the transformation or translation is done. To find how to make advanced deformations using the Transform tool, do not right-click on the on-canvas widget: all the option are in the Tool Options docker.
Changes can be applied with the Enter key for the Transform tool.
Note
Move tool changes are auto-applied.
Selections
Like in PS, you can use the Alt or Shift keys during a selection to remove or add selection to the active selection. In addition, you can hold Alt + Shift to intersect. Krita also offers sub tools for this, and you can select them in the Tool Options if a select tool is active. These sub tools are represented as icons.
Note
You cannot press the Ctrl key to move the content of the selection (you have to press the T key or select the Move Tool).
Some other tips:
- If you want to convert a layer to a selection (to select the visible pixels), right-click on the layer docker, and choose Select Opaque.
- If you use a polygonal selection tool, or a selection which needs to be ‘closed’, you will be able to do it or by doing double-click, or by using a Shift +
 shortcut.
You can scale selection. To do this, choose Select ‣ Scale.
Note
Also, in the Select menu there are more classical options to grow, shrink, feather, border, etc.
If you enable Show Global Selection Mask (Select menu) you can scale/rotate/transform/move or paint on selection like on regular grayscale layer.
- Ctrl + H: Show / Hide selection (same shortcut)
- Ctrl + A: Select All
- Ctrl + Shift + A: deselect All (and not the Ctrl + D shortcut as in PS)
Note for Gimp user: Krita auto-expands and auto defloats new layers created from a selection after pressing the Ctrl + C and Ctrl + V shortcuts, so you do not have to worry about not being able to paint outside the pasted element.
Note
This doesn’t work as intended right now. Intersect is a selection mode which uses the T key as the shortcut. However, the T key is also used to switch to the Move tool, so this shortcut is not functional right now. You have to use the button on the Tool Options.
Layer Handling
The most common default shortcuts are very similar in PS and Krita:
- Ctrl + J: duplicate
- Ctrl + E: merge down
- Ctrl + Shift + E: flattens all (not the Ctrl + Shift + M shortcut as in PS)
- Ins: insert a new paint layer
- Ctrl + G: create new layer group and move selected layers to this group
Groups and Blending Mode (Composite Mode):
The group blending mode in Krita has priority over child layers and overrides it. This can be surprising for Photoshop users. On Photoshop you can use groups to just clean your layer stack and keep blending mode of your layer compositing through all the stack. In Krita the compositing will happen at first level inside the group, then taking into account the blending mode of the group itself. Both systems have pros and cons. Krita’s way is more predictable according to some artists, compositing-wise. The PS way leads to a cleaner and better ordered layer stack visually wise.
Multi Layer Transform or Move
You can select multiple layers on the stack by holding down the Shift key as in PS, and if you move the layer inside a group you can move or transform the whole group – including doing selection on the group and cut all the sub layers inside on the fly. You can not apply filters to group to affect multiple layers.
Clipping Masks
Krita has no clipping mask, but there is a simpler workaround involving layer groups and Inherit alpha (see the alpha icon). Place a layer with the shape you want to clip the other with at the bottom of a group and layers above with the Inherit alpha option. This will create the same effect as the “clipping mask” PS feature, and also keeps the layer stack cleaner than the clipping mask implementation does.
This process of arranging groups for inherit alpha can be done automatically by Ctrl + Shift + G shortcut. It creates a group with base layer and a layer above it with the Inherit alpha option checked by default.
Pass-through mode
This is available in Krita, but not implemented as a blending mode. Rather, it is an option next to ‘inherit alpha’ on group layers.
Smart Layers
Instead of having smart layers that you can do non-destructive transforms on, Krita has the following set of functionality:File Layers
These are layers which point to an outside file, and will get automatically updated if the outside file changes. Starting from version 4.0 users can convert an existing layer into a file layer by  clicking on it and doing Convert ‣ to File Layer or by going to Layer ‣ Convert ‣ to File Layer. It will then open a save prompt for the file location and when done will save the file and replace the layer with a file layer pointing at that file.Clone Layers
These are layers that are an ‘instance’ of the layer you had selected when creating them. They get updated automatically when the original layer updates.Transform Masks
These can be used to non-destructive transform all layer types, including the file and clone layers.Filter Masks
Like adjustment layers, these can apply filters non-destructively to all layer types, including file and clone layers.
Layer styles
You can apply Photoshop layer-styles in Krita by right-clicking any given layer type and selecting ‘layer style’ from the context menu. Krita can open and save ASL files, but not all layer style functionality is there yet.
Other
Layers and groups can be exported. See the Layer top menu for this and many other options.
Note
Krita has at least 5 times more blending modes than PS. They are sorted by categories in the drop-down menu. You can use the checkbox to add your most used to the Favorite categories.
Paint tools
This is Krita’s strong point. There are many paint tools, and they have a lot of options.
Tools
In Krita, there is a totally different paradigm for defining what ‘tools’ are compared to PS. Unlike in PS, you will not find the brush, eraser, clone, blur tool, etc. Instead, you will find a way to trace your strokes on the canvas: freehand, line, rectangle, circle, multiple brush, etc. When you have selected the ‘way to trace’ you can choose the way to paint: erasing / cloning / blurring, etc are all part of way to paint managed by the brush-engines options. These brush engine options are saved into so-called presets, which you can find on Brush presets. You can fine tune, and build your own presets using the Edit Brush Settings icon on the top toolbar.
Erasing
In Krita, the eraser is not its own tool; it is a Blending mode (or Composite mode). You can toggle between erase mode and paint mode by pressing the E key, individually for each of your brushes.
Useful shortcuts
- Shift: Grow or Shrink the brush size (or the [ and ] keys).
- /: Switch last preset selected and current (ex: a pencil preset, and an eraser preset).
- K and L: Increment Darker and Lighter value of the active color.
- I and O: Increment opacity plus or minus.
- D: Reset color to black/foreground and white/background.
- X: Switch background and foreground colors.
- Shift + I / Shift + N / Shift + M: A set of default keyboard shortcuts for accessing the on-canvas color selector.
Note
Some people regard these shortcuts as somewhat unfortunate. The reason is that they are meant to be used during painting and the left Shift key is at the opposite end of the keyboard from the I, M and N keys. So for a right-handed painter, this is very difficult to do while using the stylus with a right hand. Note that you can reassign any shortcut by using the shortcut configuration in Settings ‣ Configure Krita… ‣ Shortcuts.
Stabilization / Path Smoothing
Using the freehand ‘paint with brush’ tool that you can find on the Tool Options, more settings for smoothing the path and stabilization of your brush strokes are available.
Global pressure curve
If you find the feeling of Krita too hard or too soft regarding the pressure when you paint, you can set a softer or harder curve here: Settings ‣ Configure Krita… ‣ Tablet settings
Adjustment
Like in PS, you can use the classic filters to adjust many things while painting:
- Ctrl + L: Levels
- Ctrl + U: HSV adjustment
- Ctrl + I: Invert
Dodge / Burn / Blur Tools
Unlike Photoshop, where these are separate tools, in Krita, they are available via the Filter Brush Engine, which allows you to apply the majority of Krita’s filters in brush form.
Themes
If you don’t like the dark default theme of Krita go to: Settings ‣ Themes, and choose a brighter or darker theme. If you don’t like the color outside your viewport go to: Settings ‣ Configure Krita… ‣ Display, and change the Canvas border color.
What Krita Has Over Photoshop
As mentioned in the introduction, Krita is a specialized paint application. Thus, it has specialized tools for painting. Similar tools are not found in more generalized image manipulation applications such as PS. Here is a short list of the most important ones.
Brush Engines
Krita has a lot of different so-called brush engines. These brush engines define various methods on how the pixels end up on your canvas. Brush engines with names like Grid, Particles, Sketch and others will bring you new experiences on how the brushes work and a new landscape of possible results. You can start customizing brushes by using the brush-settings editor, which is accessible via the toolbar, but it’s much easier to just press the F5 key.
Tags for brush presets
This is a very useful way to configure brush presets. Each brush can have any amount of tags and be in any group. You can make tag for blending brushes, for texture brushes, for effect brushes, favorites etc.
Settings curve
You can set setting to pressure (speed/distance/tilt/random/etc.) relation for each brush setting.
The Pop-up Palette
Easily to be found on , the pop-up palette allows you to quickly access brushes, color history and a color selector within arm’s reach. The brushes are determined by tag, and pressing the lower-right configure button calls a drop-down to change tags. This allows you to tag brushes in the preset docker by workflow, and quickly access the right brushes for the workflow you need for your image.
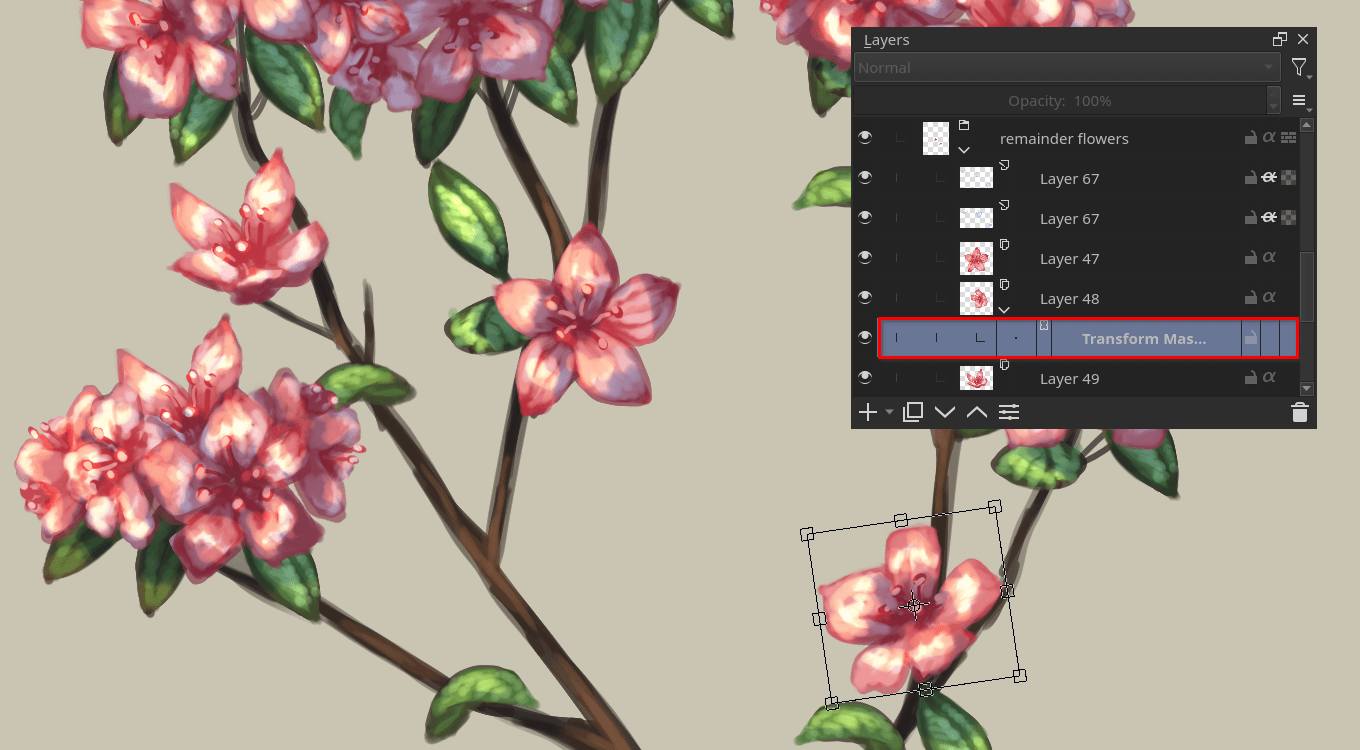
Transformations
The Krita transformation tool can perform transformations on a group and affect child layers. There are several modes, like free, perspective, warp, the powerful cage and even liquify. Furthermore, you can use transformation masks to apply transforms non-destructively to any layer type, raster, vector group, you name it.
Incremental Save
You can save your artwork with the pattern : myartworksname_001.kra, myartworksname_002.kra, myartworksname_003.kra etc., by pressing a single key on the keyboard. Krita will increment the final number if the pattern “_XXX” is recognized at the end of the file’s name.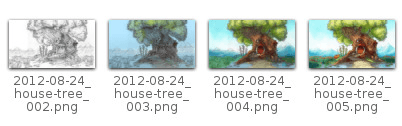
This feature allows you to avoid overwriting your files, and keep track to your older version and work in progress steps.
Filter: Color to alpha
If you want to delete the white of the paper from a scanned artwork, you can use this filter. It takes a color and turns it into pure transparency.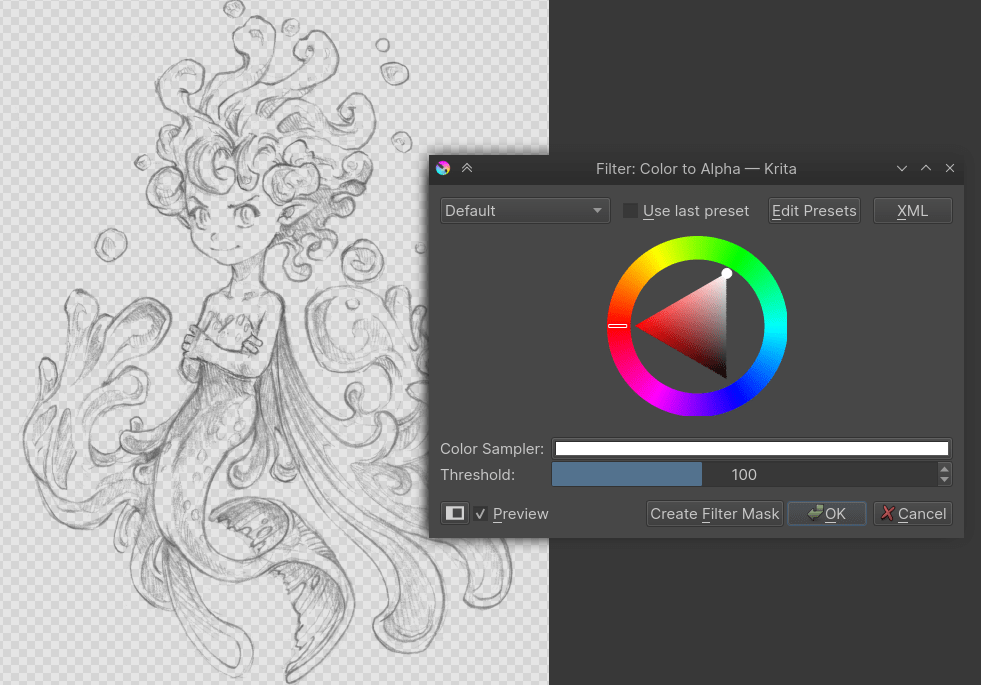
Many Blending Modes
If you like using blending modes, Krita has many of them – over 70! You have plenty of room for experimentation. A special system of favorite blending modes has been created to let you have fast access to the ones you use the most.
Painting Assistants
Krita has many painting assistants. This is a special type vector shapes with a magnetic influence on your brush strokes. You can use them as rulers, including with shapes other than just straight.
Multibrushes: Symmetry / Parallel / Mirrored / Snowflake
Krita’s Multibrush tool allows you to paint with multiple brushes at the same time. Movements of the brushes other than the main brush is created by mirroring what you paint, or by duplicating it by any number around any axis. They can also be used in parallel mode.
A Wide Variety of Color Selectors
The Advanced Color Selector docker offer you a wide choice of color selectors.
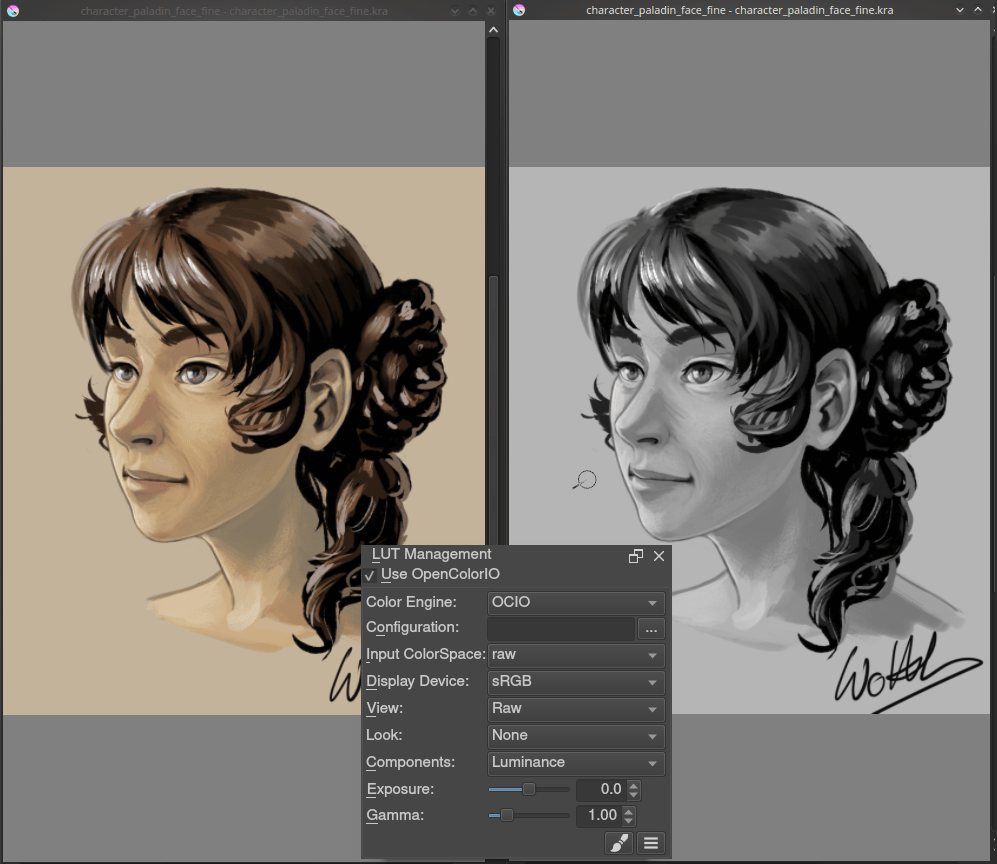
View dependent color filters
Using the LUT docker, Krita allows you to have a separate color correction filter per view. While this is certainly useful to people who do color correction in daily life, to the artist this allows for seeing a copy of the image in luminance grayscale, so that they instantly know the values of the image.
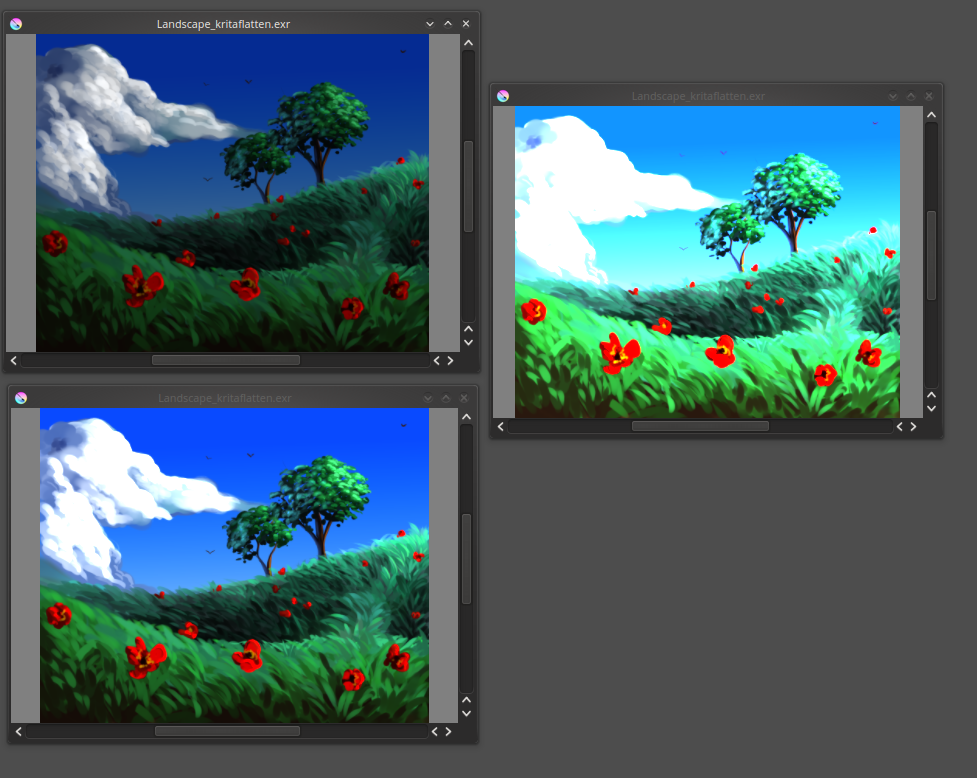
HDR color painting
This same LUT docker is the controller for painting with HDR colors. Using the LUT docker to change the exposure on the view, Krita allows you to paint with HDR colors, and has native OpenEXR support!
What Krita Does Not Have
Again, Krita is a digital paint application and Photoshop is an image manipulation program with some painting features. This means that there are things you can do in PS that you cannot do in Krita. This section gives a short list of these features.
Filters
Krita has a pretty impressive pack of filters available, but you will probably miss one or two of the special filters or color adjustment tools you often use in Photoshop. For example, there is no possibility to tweak a specific color in HSV adjustment.
Automatic healing tool
Krita does not have an automatic healing tool. It does, however, have a so-called clone tool which can be used to do a healing correction, although not automatically.
Macro Recording
Macro recording and playback exists in Krita, but it is not working well at this time.
Text Tool
The text tool in Krita is less advanced than the similar tool in Photoshop.
Blending Modes While Transforming
When you transform a layer or a selection in Krita, the transformation appears on the top of your layer stack ignoring the layer blending mode.
Photomerge
You may have used this tool in Photoshop to seamlessly and automatically stitch together a drawing that was scanned in segments. Krita does not have an equivalent, though an alternative is to use Hugin, which is cross-platform and free, just like Krita.